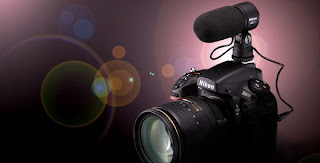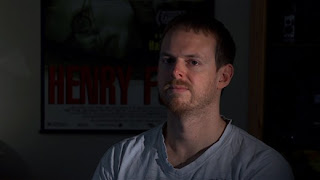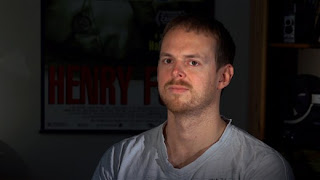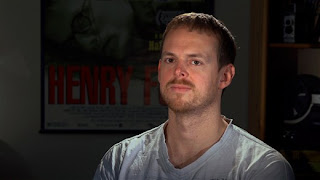
How many DSLRs does it take to change a light bulb? None apparently, because the ability for these new cameras to capture HD video in low light is so amazing so you don’t need to light anything anymore. Right?
No, No, No, No!
I was talking to someone recently and telling them about the gain on one of our new digital video cameras and how high you could push it without too much grain and they said 'great, that will save having to light'. This got me thinking. Are we not in the business to make the best looking pictures we can that are artistically designed to best tell the 'story' whether that be fiction, documentary or corporate?
Lighting in film always served two purposes; to be able to see the subject AND to 'paint it in the best possible light'. Just because our new cameras are fantastic doesn't mean that you don’t have to light a scene to be able to see it doesn’t mean that we shouldn’t light to make it look better and more professional.
So let's go back to basics and have a beginners guide to three-point lighting. It’s simple and it works and it’s worth thinking about if you want to give your video some quality.
Key Light

Three point lighting is the start, and it's easy. The main light is the 'key' light. In day-to-day informal shooting this would be the sun or if you're indoors, the main overhead light. On a controlled set the key light is your brightest light source, either emulating from the natural world (sun/moon or room light) or basically just any good strong source of light falling at around a 45 degree angle on your subject.
Fill Light

The second in our three lights is the fill light. This basically 'fills in' any unwanted shadows created by the key light. So this is positioned at an angle on the other side of the subjects face to remove nose/neck shadow etc and to brighten the eye on that side.
Back Light

Finally, the 'back-light'. This is not, as is often mistakenly assumed, to light the background – though backlight can be created from an illuminated backdrop. This is to light the subject from behind, from 'the back'. Why? To separate the subject from the background. A light positioned high up, shooting down on a person from behind will give a line of light along the shoulders and a slight halo around the head to make your subject - your point of focus - stick out.
Why Bother?
So where’s the skill in just sticking three lights up? The main thing to think about is how these lights contrast in brightness and intensity. It might be that your movie requires harsh shadows so you don’t want a fill light, but this should still be a conscious decision to not have a fill light so you are still using a 3-point lighting technique. Playing around with these three lights enables you to paint with light and create much, much better footage.
From this point you can go on. You can think about 'practicals' - prop lights in shot that also add to lighting the scene - and background lighting which not only helps you to see what’s in the background but also adds colour, depth and shape to your shot. And there’s much, much more. Just look at the lighting department credits on a feature film for an idea of how many people are involved in getting it right for the 'big screen'.
When you've sorted out the basics, THEN you can think about colour grading and correction. We are artists creating beautiful pictures and the whole point of our skills is that their effect should be appreciated without being noticed. Let’s not forget that lighting, along with sound, is the most important aspect of filmmaking. It allows us to paint in this most modern medium, and keeps us in control, however sophisticated the technology.


 Posted in:


